

Extra IPs
Every dedicated server comes with one IPv4 address included. If your workload needs additional addresses — for hosting multiple SSL certificates, separating services, or whitelisting specific IPs with third-party providers — you can add extra IPs as a quantity add-on when you place your order.
Ordering extra IPs
Section titled “Ordering extra IPs”Extra IP addresses are selected during the checkout process. On the configuration step of your order, look for the Extra IPv4 option and set the quantity you need. Each additional IP is billed monthly alongside your server.
You cannot add extra IPs to an existing server through the checkout flow — if you need more IPs after provisioning, contact support.
Viewing your IP addresses
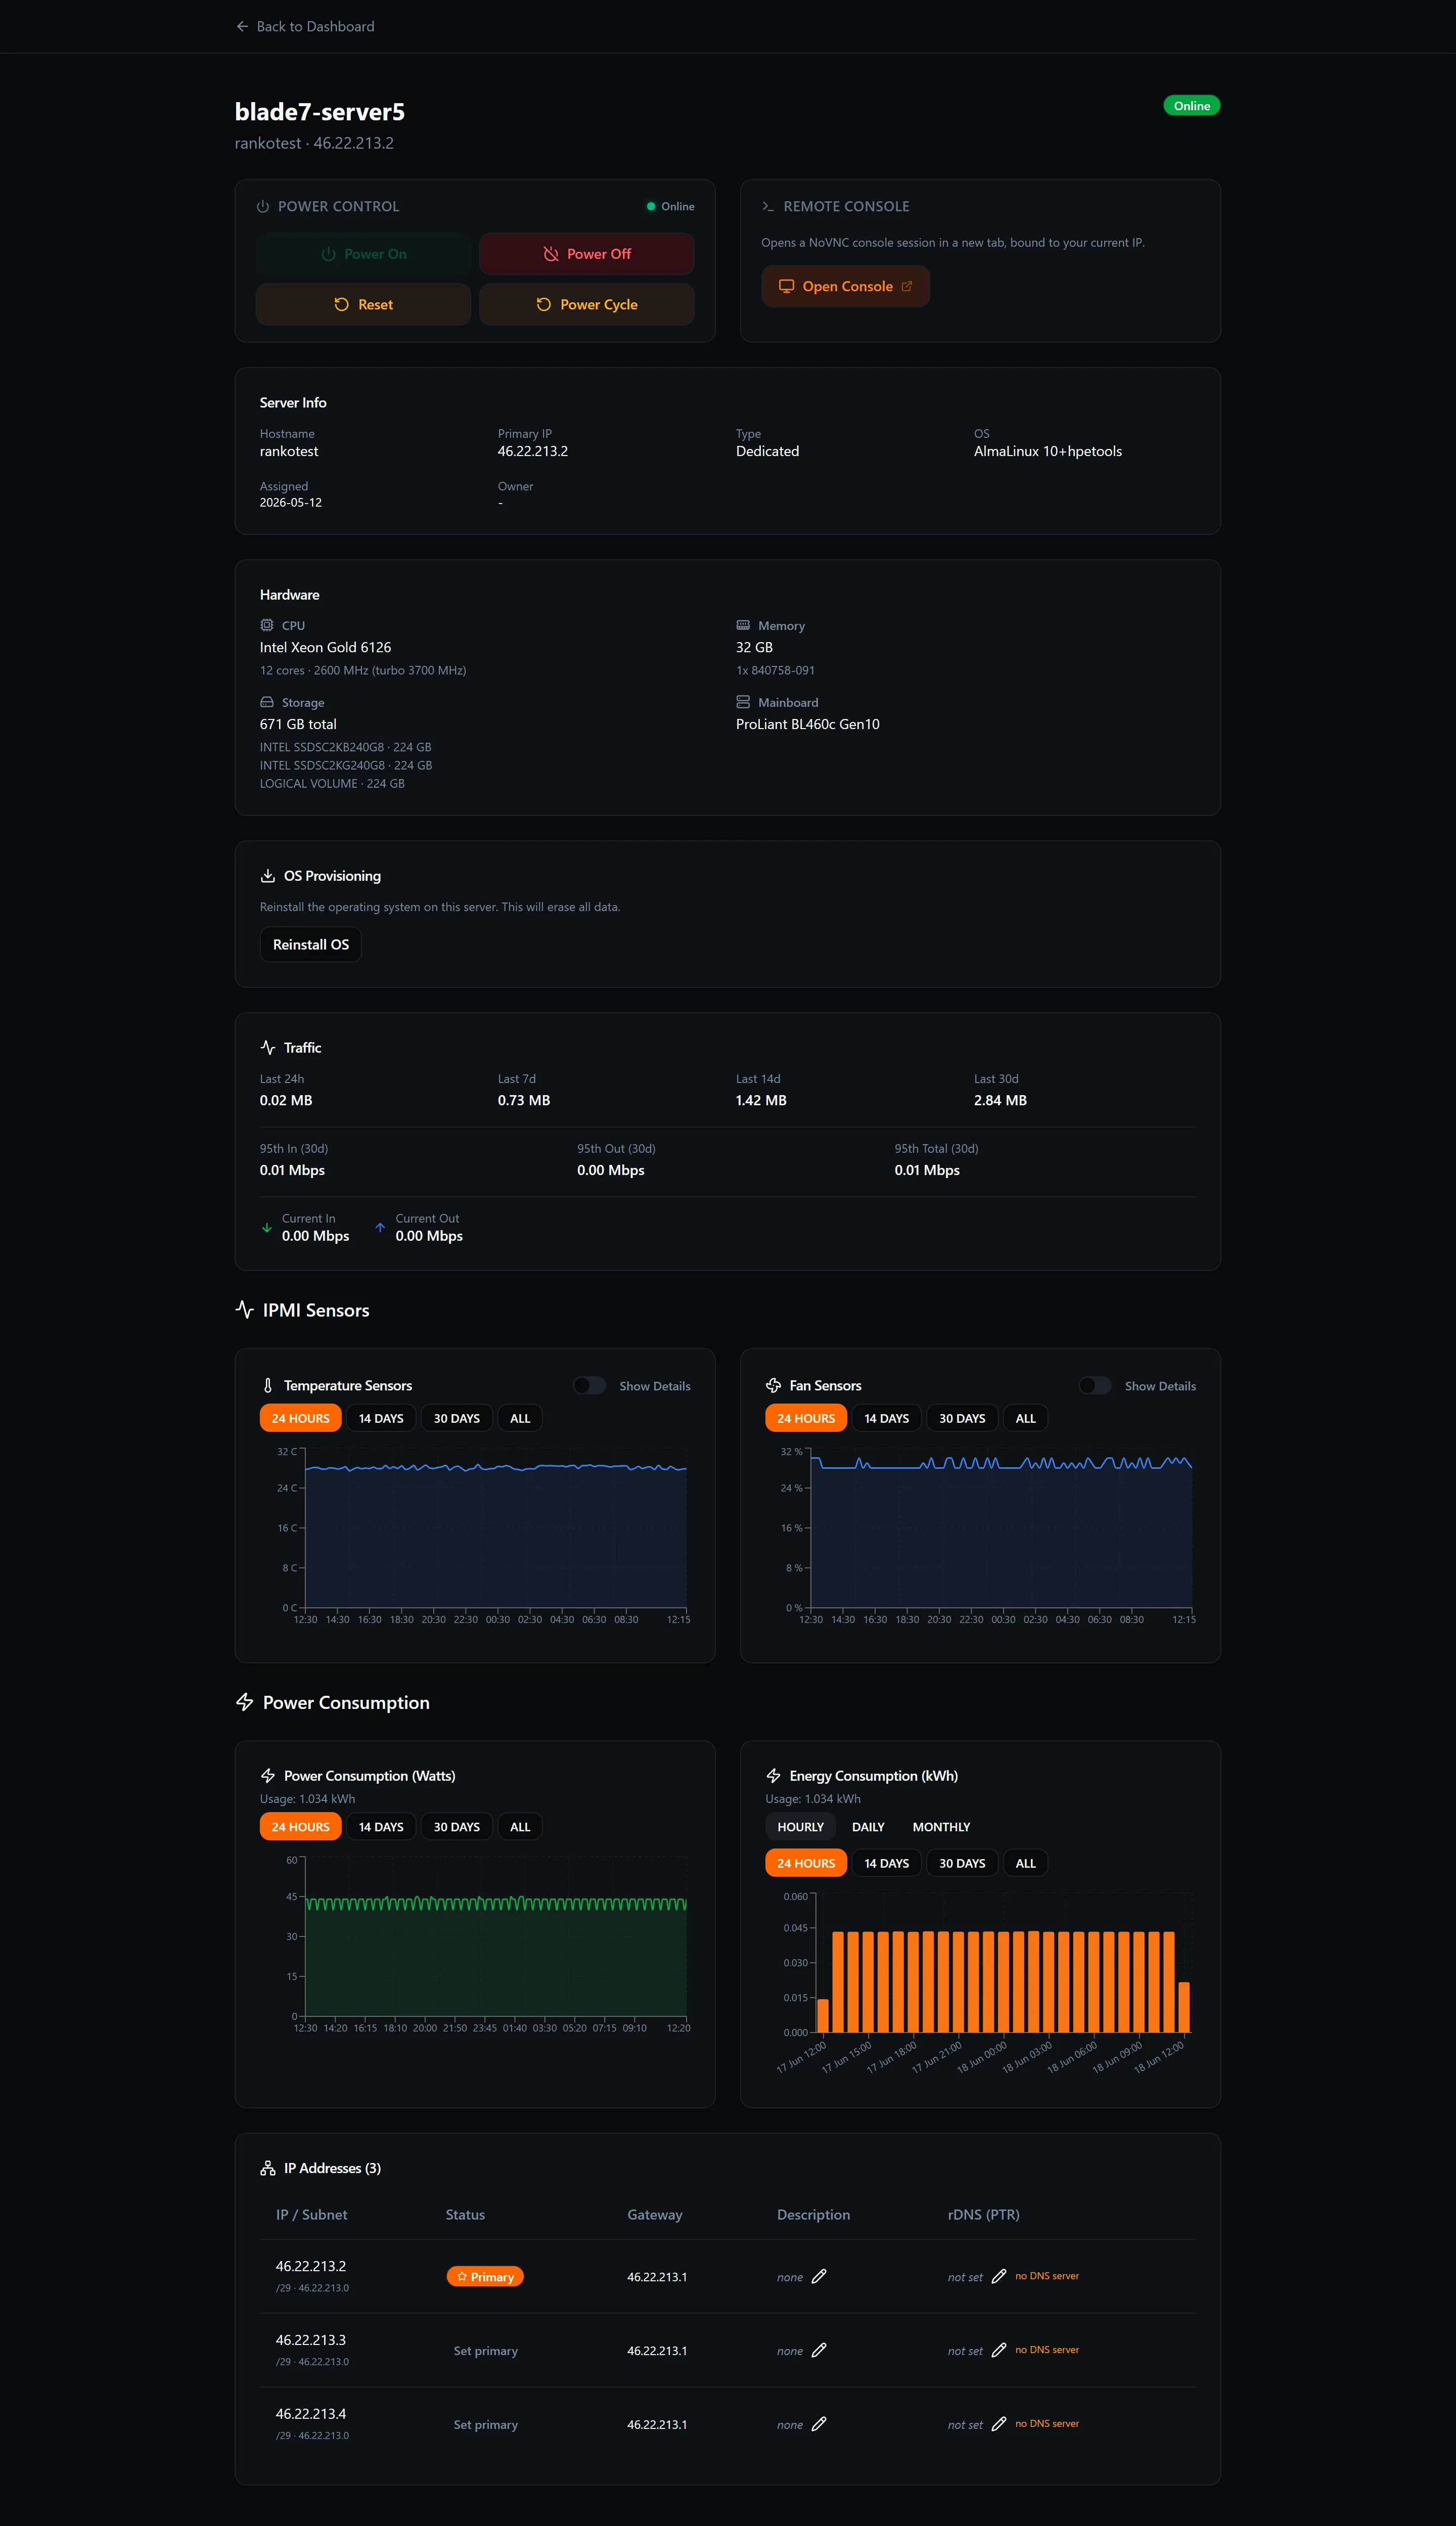
Section titled “Viewing your IP addresses”Once your server is active, open the server page in your dashboard. Scroll down to the IP Addresses table. Every IP assigned to your server appears here, one per row, with:
- IP address — the full address.
- Subnet — the network prefix length (for example
/29), which tells you the size of the block your IP belongs to. - Gateway — the router address your server uses to reach the internet on that subnet.
Setting the primary IP
Section titled “Setting the primary IP”One IP in the table is marked Primary. This is the address your server presents as its main outbound identity, and it is the address pre-populated in outgoing connection requests by default.
To change the primary IP, click Set primary next to any other address. The badge moves immediately and the previous primary no longer holds that role. Your traffic routes are not affected automatically — if your applications bind to a specific address you will need to reconfigure them separately.
Adding a description to an IP
Section titled “Adding a description to an IP”The Description column lets you attach a short label to each IP to keep track of what it is used for (for example mail server, staging, or web front-end). Click the description field for any IP, type your label, and save. Labels are for your reference only and have no effect on routing or connectivity.
Next: Learn how to set Reverse DNS records for each of your IP addresses.